Picotron Roguelike Tutorial
A tutorial for making a basic roguelike using Picotron
Project maintained by seawaffle Hosted on GitHub Pages — Theme by mattgraham
Part 5: Enemy Placement and Interaction
Ok, I took a bit of a break, but let’s get back to things. In Part 4, we made things spookier by limiting our field of view. We’ve had an enemy hanging around in our dungeon for a while now, but they’re just sort of there. They don’t move, we can’t interact with them, it’s just a sprite we can move through. Let’s change that today.
First off, our entity placement code needs work. Up to now, we’ve just been placing all the entities in random empty spots after map generation. But we’ve got a dungeon now, and we might as well make it so that the entity placement is related to the map. First off, we’re going to remove the entity placement from main.lua
-- main.lua

function _init()
	populateMap()
end

...
Now head over to mapgen.lua, where we’re going to be adding entities from now on.
-- mapgen.lua
maxEnemiesPerRoom = 2

...

function populateMap()
	-- generate a random amount of rooms
	local rooms = {}
	for count = 0, maxRooms do
		local width = generateRandomNumber(minSize, maxSize)
		local height = generateRandomNumber(minSize, maxSize)
		local posX = generateRandomNumber(0, mapWidth - width - 1)
		local posY = generateRandomNumber(0, mapHeight - height - 1)

		local room = RectRoom:new(posX, posY, width, height)
		local good = true
		-- if the room intersects with another, we're going to toss
		-- it out and keep going
		for otherRoom in all(rooms) do
			if otherRoom:intersects(room) then
				good = false
			end
		end
		if good then
			add(rooms, room)
			-- place player in the first room, enemies can be in any of the others.
			if count == 0 then
				local x = generateRandomNumber(posX+1, posX + width)
				local y = generateRandomNumber(posY+1, posY + height)
				placePlayer(x, y)
			else
				-- use this instead of generateRandomNumber function because it is inclusive
				local enemyCount = flr(rnd(maxEnemiesPerRoom + 1))
				while (enemyCount > 0) do
					local x = generateRandomNumber(posX+1, posX + width)
					local y = generateRandomNumber(posY+1, posY + height)
					placeEnemy(x, y)
					enemyCount = enemyCount - 1
				end
			end
		end
	end

	...

end

function placePlayer(x, y)
	player = Entity:new(x, y, 1)
	add(entities, player)
end

function placeEnemy(x, y)
	-- check to avoid placing enemies on top of each other
	for entity in all(entities) do
		if entity.x == x and entity.y == y then
			return
		end
	end
	enemy = Entity:new(x, y, 2)
	add(entities, enemy)
end
This will place our player in the first room generated, and then generate a random amount of enemies in each room, up to the value defined in the maxEnemiesPerRoom variable. Hop over to entities.lua and remove the placeEntities function, but add entities = {} up near the top of that file, so that we still have our entities table. If you run things now, there won’t be much difference, other than a lot more enemies hanging out in our dungeon. Things are still pretty boring though. Let’s work on making our player interact with the enemies in some way. Maybe even add a new enemy, just for fun!
-- entities.lua

function Entity:new(x, y, sprite, name, blocksMovement)
	local o = setmetatable({}, Entity)
	o.x = x
	o.y = y
	o.sprite = sprite
	o.name = name
	o.blocksMovement = blocksMovement
	return o
end
First off, we add a few properties to our default Entity. This lets us know what the entity’s name is and whether we should be allowed to walk through it. Some things, like a potion or a scroll, shouldn’t stop us from moving into the space. In fact, we’d probably treat that as an action to pick that thing up! But enemies shouldn’t let us walk into their tile. They want their personal space!
Let’s go modify our entity creation to add these properties.
-- mapgen.lua

...

function placePlayer(x, y)
	player = Entity:new(x, y, 1, "Player", true)
	add(entities, player)
end

function placeEnemy(x, y)
	-- check to avoid placing enemies on top of each other
	for entity in all(entities) do
		if entity.x == x and entity.y == y then
			return
		end
	end
	local name = "Red Enemy"
	local sprite = 2
	if rnd() > 0.75 then
		name = "Green Enemy"
		sprite = 3
	end
	local enemy = Entity:new(x, y, sprite, name, true)
	add(entities, enemy)
end
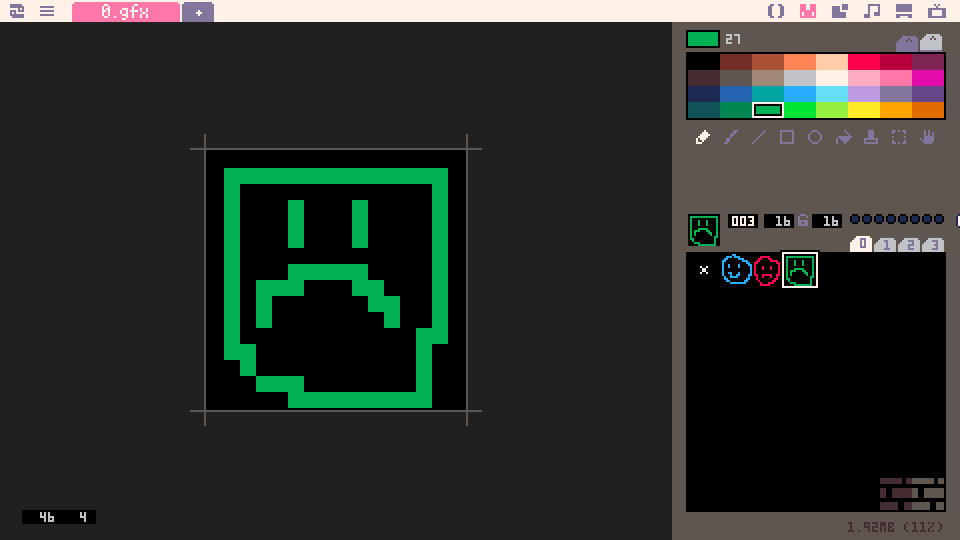
There we go. While we were in there, we even took the time to add a random new enemy! Sometimes they show up, and sometimes they don’t. Make sure you pop into the sprite editor and make something for that sprite value.
Truly ferocious. Now, we need to go about interacting with these terrifying creatures in some way. The standard in roguelikes is a bump attack, where you attack an enemy by moving into it. Obviously, we’ll need to modify our movement action, not only to account for the fact that enemies block movement into their tile, but to treat movement into an occupied tile as a attack.
-- entities.lua

...

-- generic move function for entity
function Entity:move(dx, dy)
	local destX = self.x + dx
	local destY = self.y + dy
	if getBlockingEntity(destX, destY) then
		self:attack(destX, destY)
	elseif isWalkable(destX, destY) then
		self.x = destX
		self.y = destY
		printh("move: " .. self.x .. "," .. self.y)
	end
end

-- generic melee attack for entity
function Entity:attack(x, y)
	target = getBlockingEntity(x, y)
	printh(self.name .. " kicks " .. target.name)
end

...

function getBlockingEntity(x, y)
	for entity in all(entities) do
		if entity.x == x and entity.y == y and entity.blocksMovement then
			return entity
		end
	end
end
That should do it! On a move action, we check to see if an entity that blocks movement exists in the destination tile, and if it does, we try to kick it instead. You might notice something new in here, the printh function. This is a good friend. It lets us print out debug messages to our host terminal. If you’re just running Picotron using the shortcut created by the installer, you won’t see these messages, but you can modify how you start Picotron to allow you to see them. On Linux, it’s as simple as running it in the terminal. On Windows, you can modify the shortcut you’re using to say something like cmd /c "path to picotron executable". Check out this post about Pico–8 for more information, it works in the same fashion.
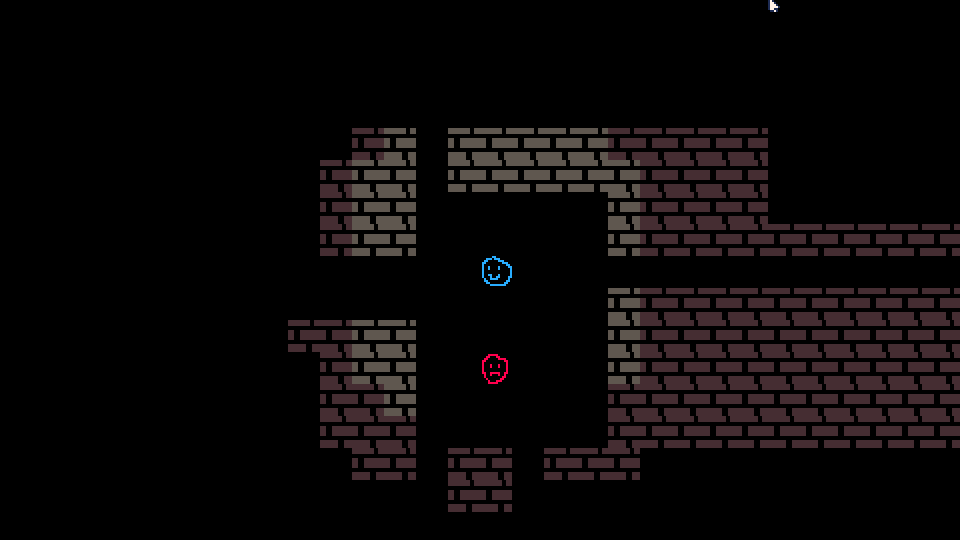
If you try running it now, you’ll see that you can no longer walk through enemies, and if you check the terminal, you’ll see messages saying that you’re kicking all those bad guys. As always, you can try it out online. I’ll see you in Part 6!